Replacing current OS with Ubuntu
Warning: This method will delete your Windows partition. Please make sure you have made a backup of all the data you do not want to lose.
Step 1 (Preparation)
We will have some pre-flashed USBs at the InstallFest if you don't have one. If you are using one of these you can probably skip step 1, please ask!
Before starting, download Ubuntu Desktop LTS 24.04.3 from https://ubuntu.com/download/desktop. LTS stands for Long Term Support, so this system will be supported for at least the next 5 years without an upgrade to the next version.
You'll get an ISO file, which is a disk image. You need to flash this to a USB drive using an imager tool, we recommend Rufus. Warning: Flashing a USB drive will overwrite any data currently on the USB. Please make sure to backup any data you do not wish to lose.
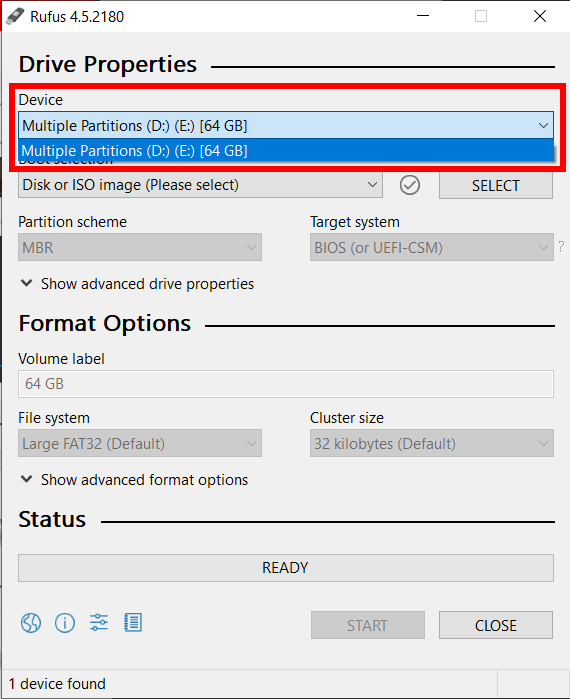
In Rufus:
- Select the USB device you want to flash (plug it in first!)
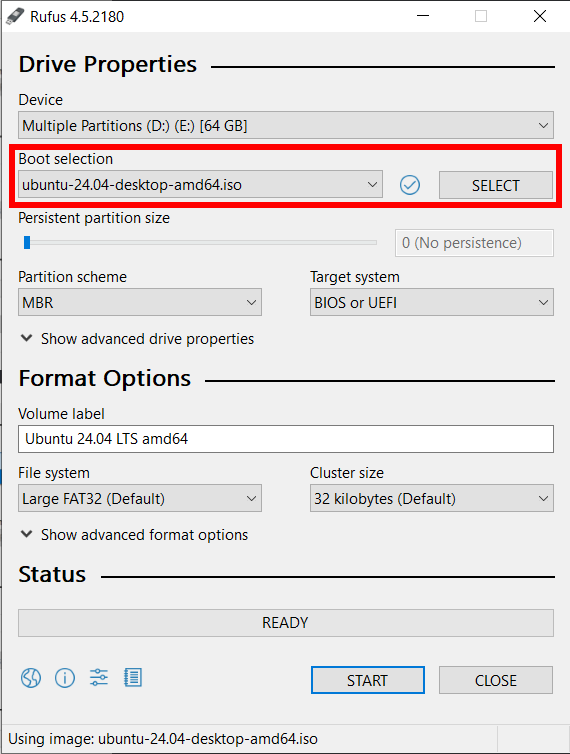
- Select your ISO file
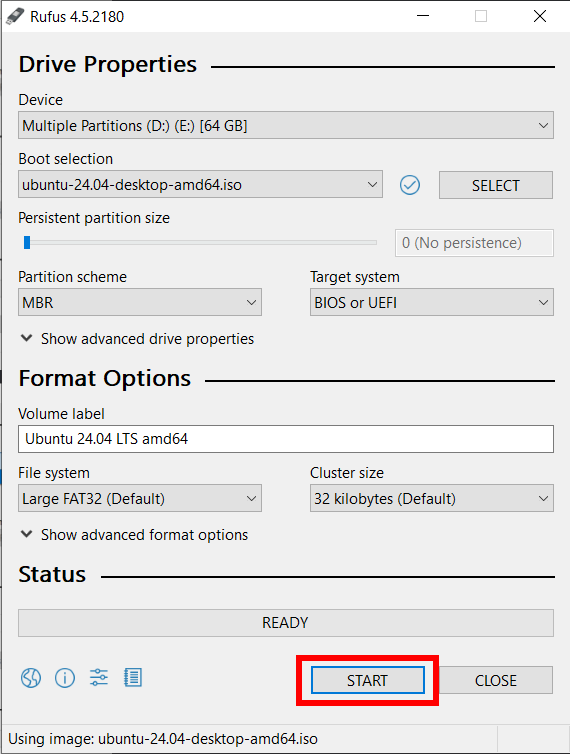
- Press start (we advise leaving all other options default)
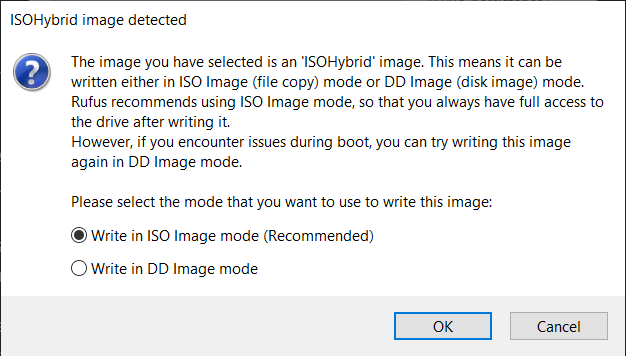
- If you receive the following pop-up, select 'ISO Image mode' and press OK
- Wait! It may take a while, but when the bar is fully green, the drive is flashed

Step 2 (Boot)
To boot into the live installation media, plug your USB into your computer/laptop, and reboot - you should be able to boot off it with no problems.
Once boot has finished, you should be presented with the installer!
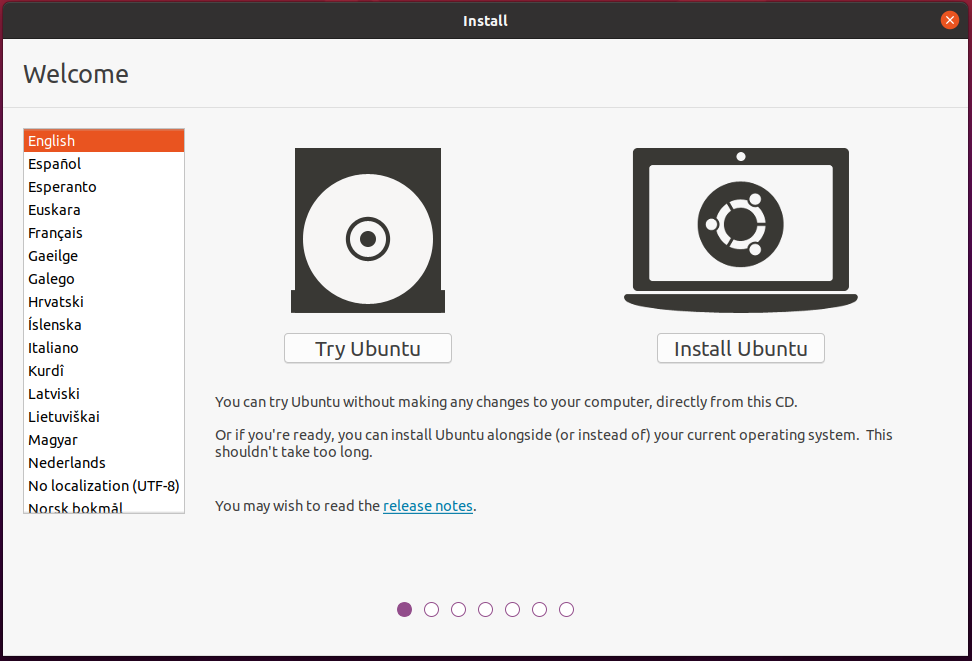
Click "Try Ubuntu" to be able to play around with a live preview (or need to use one of the bundled tools to help with installation), otherwise, go direct to "Install Ubuntu".
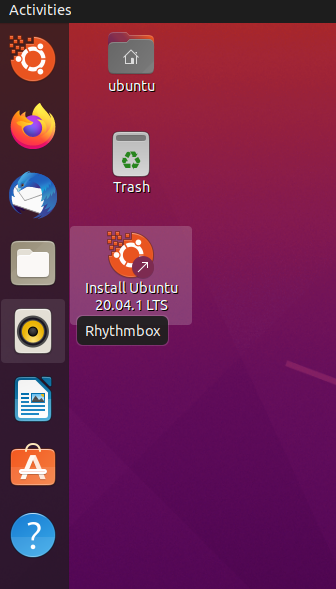
If you click "Try Ubuntu", you can find the installer later by clicking the icon on the desktop:
Step 3 (Installation)
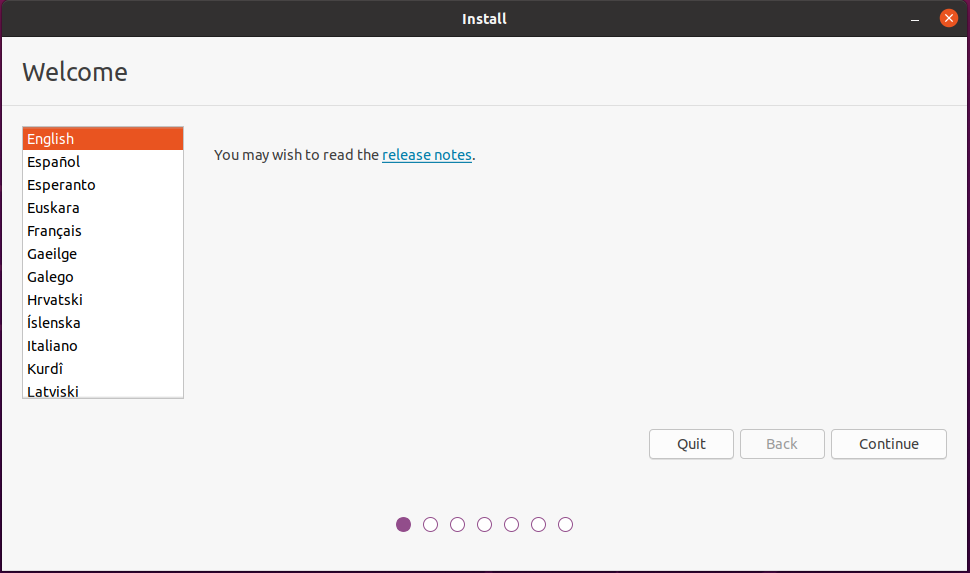
Select your language
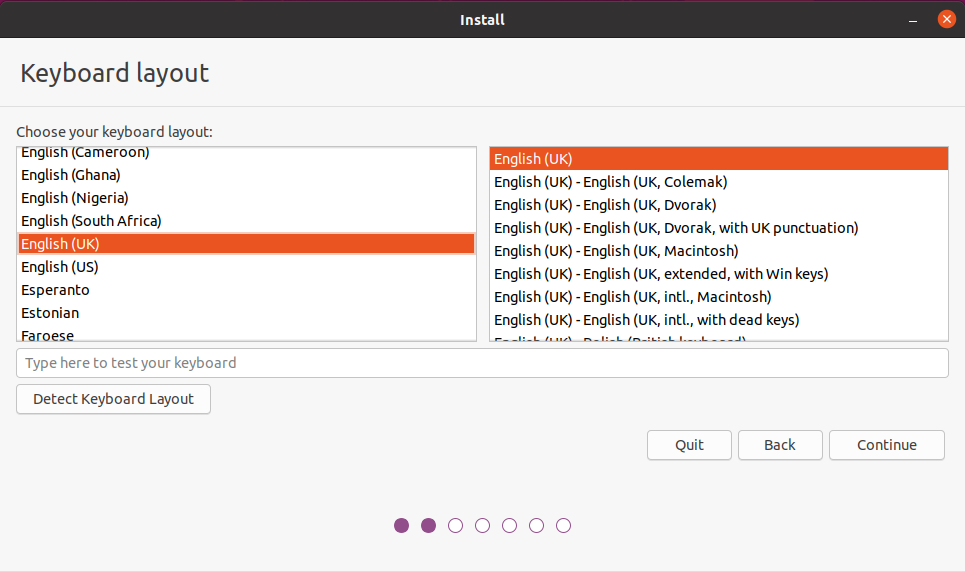
Select your keyboard layout
The auto-detect keyboard should walk you through finding out exactly what layout you have if you're not sure.
Connect to the internet
Choose the wifi you want to connect to:
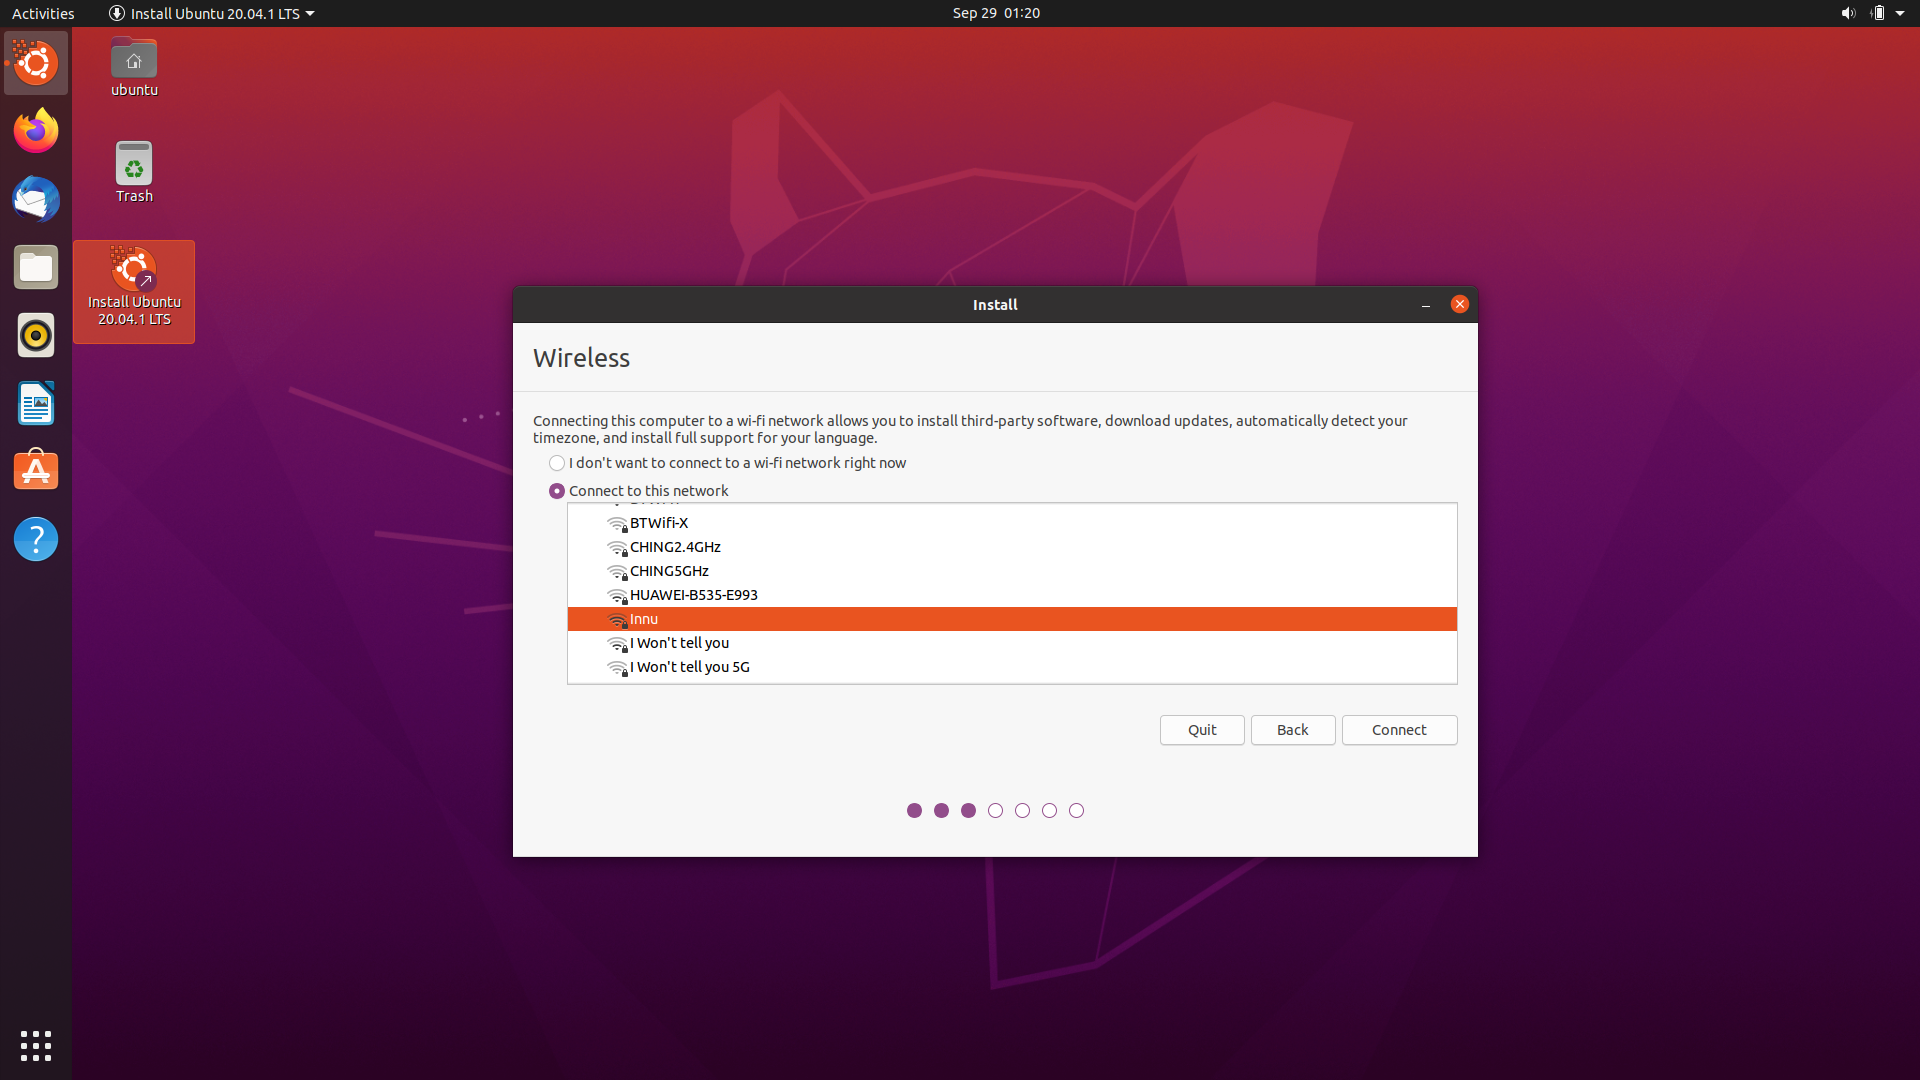
If you're on campus it's recommended to setup Eduroam now.
Select software
In most cases you want a "Normal installation" with all the utilities - however, if you're working with less disk space, or want to manually install only the tools you want later, then go with a "Minimal installation".
If you have an internet connection, then select "Download updates" - it makes the install process a little longer, but ensures that everything will be properly up to date.
The "Install third-party software" is slightly more complex. In most cases, you should tick it, and attempt an install - if something breaks and doesn't work, for issues related to drivers, then you can try again, disabling this step, and instead trying to install the drivers and codecs after the install is fully complete.
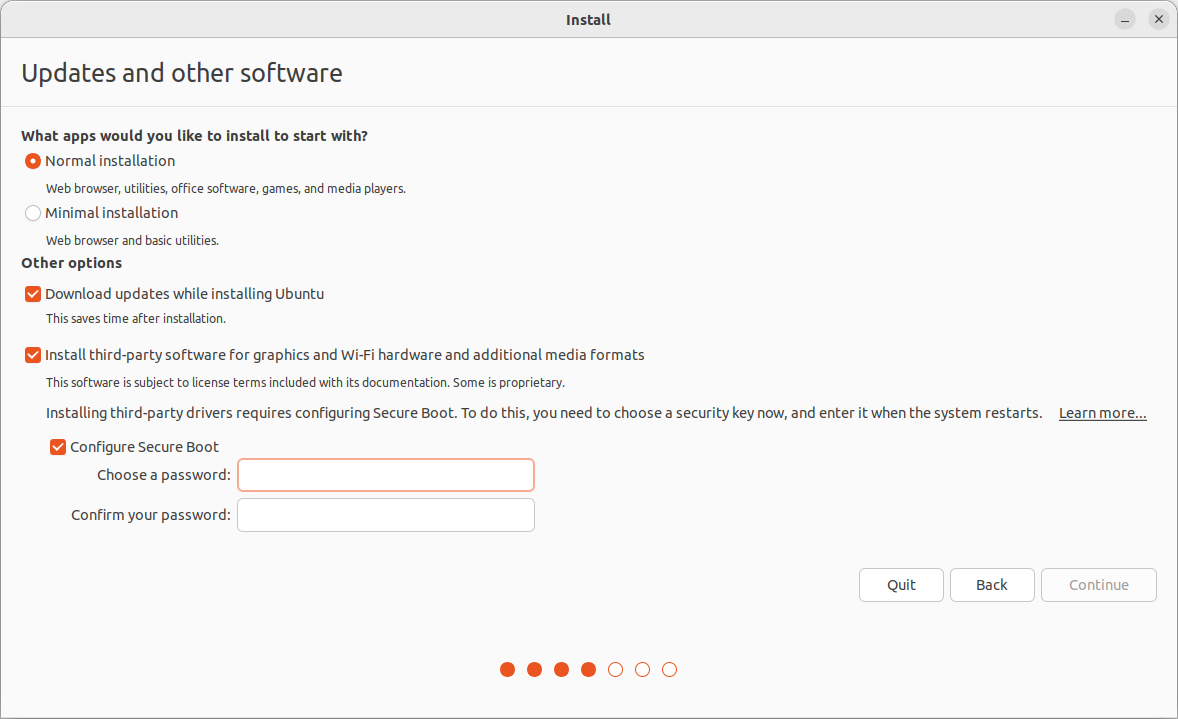
Remember to configure secure boot. When you reboot after installing, you will need this password to enrol your key.
Choose installation type
Be careful at this step! After you click "Install Now" the install process will begin!
For a pure install, click "Erase disk and install Ubuntu".
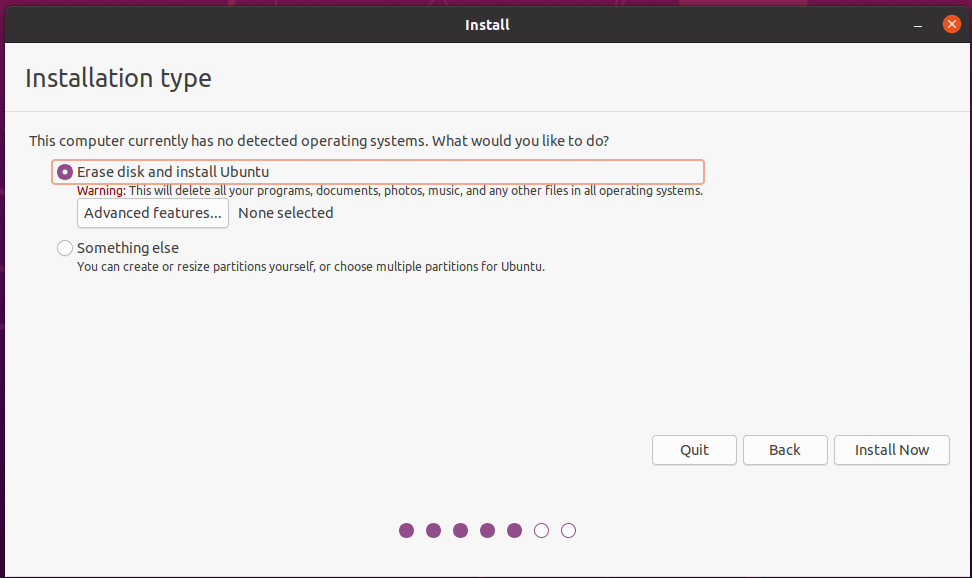
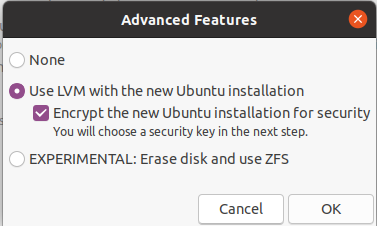
At this step, you can also choose to encrypt your disk, by selecting "Advanced features" and selecting both "Use LVM" and "Encrypt the new Ubuntu installation". However, this is optional, and requires you to input your password at each boot.
After you click "Install Now", you'll be asked if you want to proceed with the partitioning layout you've selected:
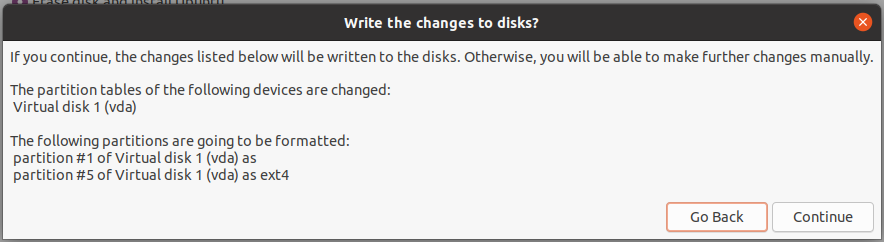
Verify the changes, and then click "Continue". Note that your partitions will look different depending on your setup.
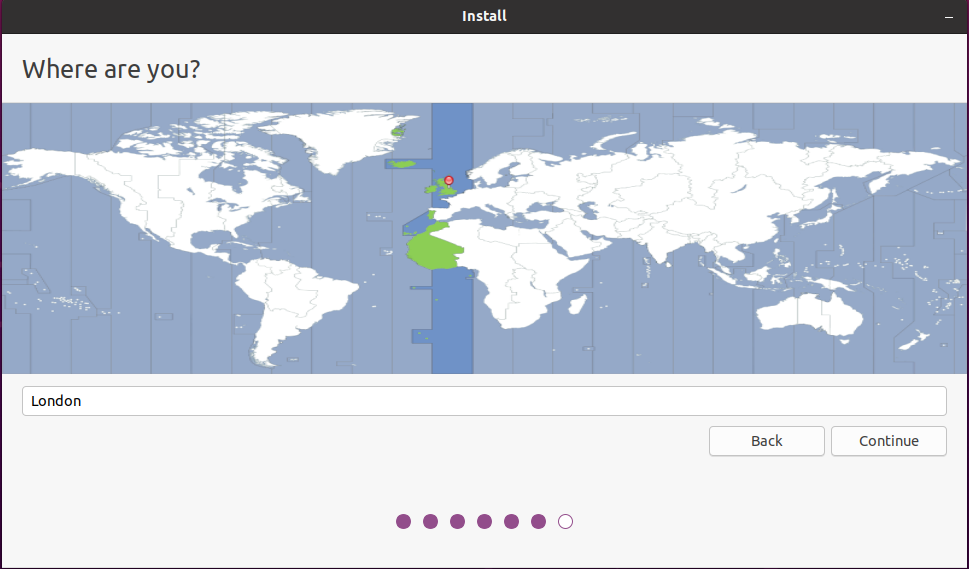
Select your timezone
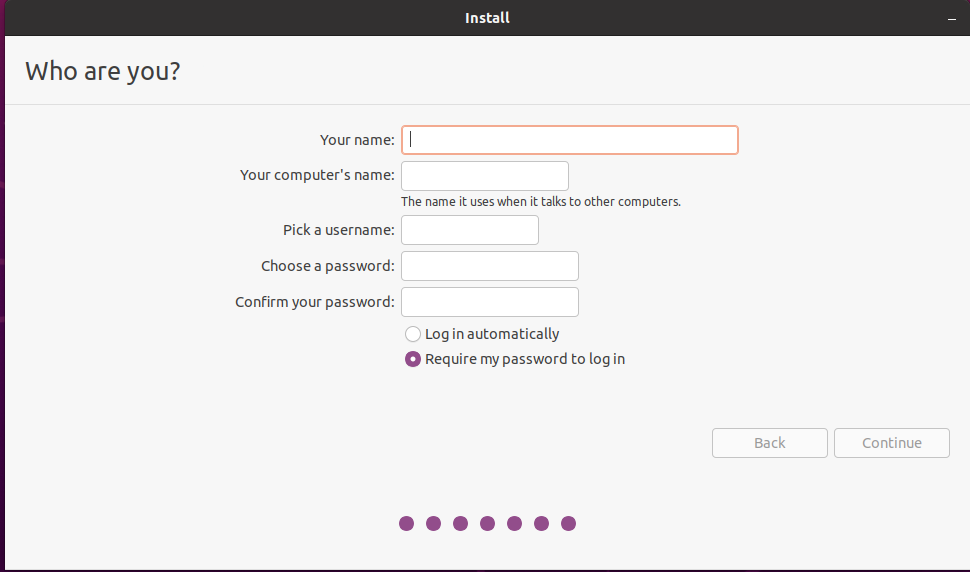
Setup your account
You need to pick:
- Your name (used in the display manager to greet you, etc)
- Your computer's name (the hostname used on networks, pick something unique and recognizable)
- Your username (used to login, appears in shell prompts, etc)
- Your password (standard password guidelines apply, if you want something easy to remember and secure, try diceware)
Wait!
Now just wait for the installer to complete!

Once it's completed, follow the prompts to shutdown, remove the installation media, and restart your computer. When you startup, you should be booted into Ubuntu!
Now head over to the Post Installation guide to update your system and install some useful software.